Friday, March 28, 2014

Turkey Sausage, Potatoes, and Peppers!

Hi guys!
Sorry I have been a little absent this week; I haven't been able to get in a good groove of managing my time this week!
Today I have a super easy, quick, and delicious weeknight dinner recipe for you! I was thinking though when I made it that this summer it would be fun to serve this when company comes over!
It takes very little prep, and there won't be a lot of dishes to do after dinner which is always a plus!
Hope you enjoy!
 

Roasted Turkey Sausage, Potatoes, and Peppers
 
Ingredients
  • 3 links of turkey sausage (We use Jennie-O, but you could also use regular pork sausage if that is what you prefer)
  • 3-4 medium sized red baking potatoes
  • 1 green bell pepper, sliced
  • 1/2 red onion, sliced
  • 1 cup canned banana peppers; drained. ( I accidentally bought the Hot banana peppers, but it was very tasty if you like spicy foods)
  • 2 tbsp. Extra Virgin Olive Oil
  • Salt and Pepper
  • Creole seasoning if you want a little extra kick (optional)
 
Directions
  1. Cut your sausage links into chunks, prep all of your potatoes and veggies
  2. In a foil-lined baking pan that has a little bit of a lip to it to avoid a mess, toss potatoes, bell pepper, onion, and sausage with the 2 tbsp of olive oil; making sure that it all gets covered and mixed well.
  3. After tossing, spread your mixture evenly across the baking pan. Sprinkle with salt and pepper, followed by the banana peppers to top it off
  4. Bake at 400 for about 30-35 minutes. The best way to judge if it is ready is to stick a fork into your potatoes to see if they are completely baked.
 
Breakdown
 
This exact recipe was dinner for the two of us, plus we each had lunch for the next day making it 4 full servings. If you were to pair it with a salad or different side it could make 6 smaller servings.
When I plugged this into my calorie counter 1/4 of the recipe is 296 calories. 

Friday, March 21, 2014

Crockpot Chicken Curry


Happy Spring everyone!!!!!!

I hope that you all enjoyed your first day of Spring yesterday! We enjoyed it by taking Ellie on two nice walks; the weather was nice, but still a little chilly with the wind. I'm so ready for nice warm weather, but definitely not looking forward to the Alabama pollen that is always so terrible!!! Hopefully it will be mild this year...yeah right haha.

So the hubby had a dinner request for curry. He left it open to any kind of curry which I had never made before, so I found an idea on of course Pinterest and tweaked it a little to make it our own. So, I wanted to share it with you guys!


Crockpot Chicken Curry

Ingredients
  • 1 pound boneless, skinless chicken breasts
  • 1 medium sized onion; chopped
  • 2 medium sweet potatoes; peeled and diced
  • ½ cup light coconut milk
  • ½ cup low sodium chicken broth
  • 15 oz. can tomato sauce
  • 2 tablespoons curry powder
  • 1 teaspoon salt
  • ½ teaspoon cayenne powder ; if you want it on the spicier side
  • 1 cup green peas – frozen
  • 2 tablespoons lemon juice
  • White or whole wheat rice for serving


Directions
  1. In the bottom of the crockpot whisk together coconut milk, chicken broth, tomato sauce, curry powder, salt and cayenne.
  2. Add chicken breasts, onion, and sweet potatoes. Using tongs, gently toss ingredients together so the sauce can coat everything.
  3. Cook on low for 8 hours or high for 4 hours.
  4. Shred your chicken breast (I forgot this step...boo). Stir in peas and lemon juice 5 minutes before serving.
  5. Serve over cooked rice and enjoy!


I found this sauce that was on special at Target so I decided to get some to experiment with in the future. We decided to pour a little on top of our final product, and it was very tasty! I'm planning on making more curry dishes in the future!


*This recipe makes 4 servings (about 2 cups each) and when I put it in my calorie counter it was 236 calories per serving without rice. This is awesome warm, comfort food that is low in calories for sure!

Wednesday, March 19, 2014

My closet...errr office update!


Hey everyone!

Today I want to share my little closet/office makeover! In our three bedroom house we have turned the smallest bedroom into a home office/small gym. In one corner we have our cycling bike and small exercise equipment area that we added not too long ago. You can see that post HERE. In the opposite corner we have our computer desk set up where Justin mainly sits; it has our printer and file cabinet over there as well.
So when we were moving in and figuring out what we were going to put where I had a big dream of an amazing craft room... I know that I am not alone out there! Realistically speaking I knew this was going to have to remain a dream and with the help from my mom and some inspiration from Jen at IHeart Organizing We made a plan to turn the closet in our third bedroom into a space for me! 

Here is what the closet looked like when we first moved in...

So, this room is where we keep our Alabama décor, so naturally my first thought was to make my little closet fit with the rest of the room. Here is what we started with....


I love my alma mater, but I have been itching for a change. I wanted to bring in some fun colors, and make my space a little bit more glamorous! Take a look at what it looks like now...


My wonderful glass desk is actually a console table that my mom spotted at an estate sale we went to right after we bought our house back in 2011. She had the vision that it would be the perfect size desk for my closet, and like always she was right! I love having a glass table because it makes the area feel even more open and not so cramped, but to top it off it was only $10!


My mom also helped me figure out a smart way to store my fabric because I have a TON! I got this sweater organizer for all of it, and it works perfect!


Since this is a closet, lighting isn't exactly perfect. I have needed a lamp in here for a while, and I decided on this LED bankers lamp from Home Depot. I really love it, and it is the perfect size.


I got this antique brass tray and bumblebee dish this past weekend when I went antiquing in Tennessee! The flower arrangement is from TARGET, and my diffuser is from Marshalls.


I got this cute little journal as a gift, and I just love it!


My bulletin board is really a square canvas covered in a gold polka dot napkin. At Christmas time I saw a set of gold polka dot napkins at Marshalls, but I decided that I didn't really need them. Well, I went back a few weeks ago and now in March they were on clearance! YAY! So, I took one of them and covered my canvas with it using spray adhesive...


I made the three pictures with an app that I love and use all of the time called Rhonna Designs. I use this app a lot with my blog and Instagram pictures. I just love all three of them, and lets face it we all need to know that there will be miracles!


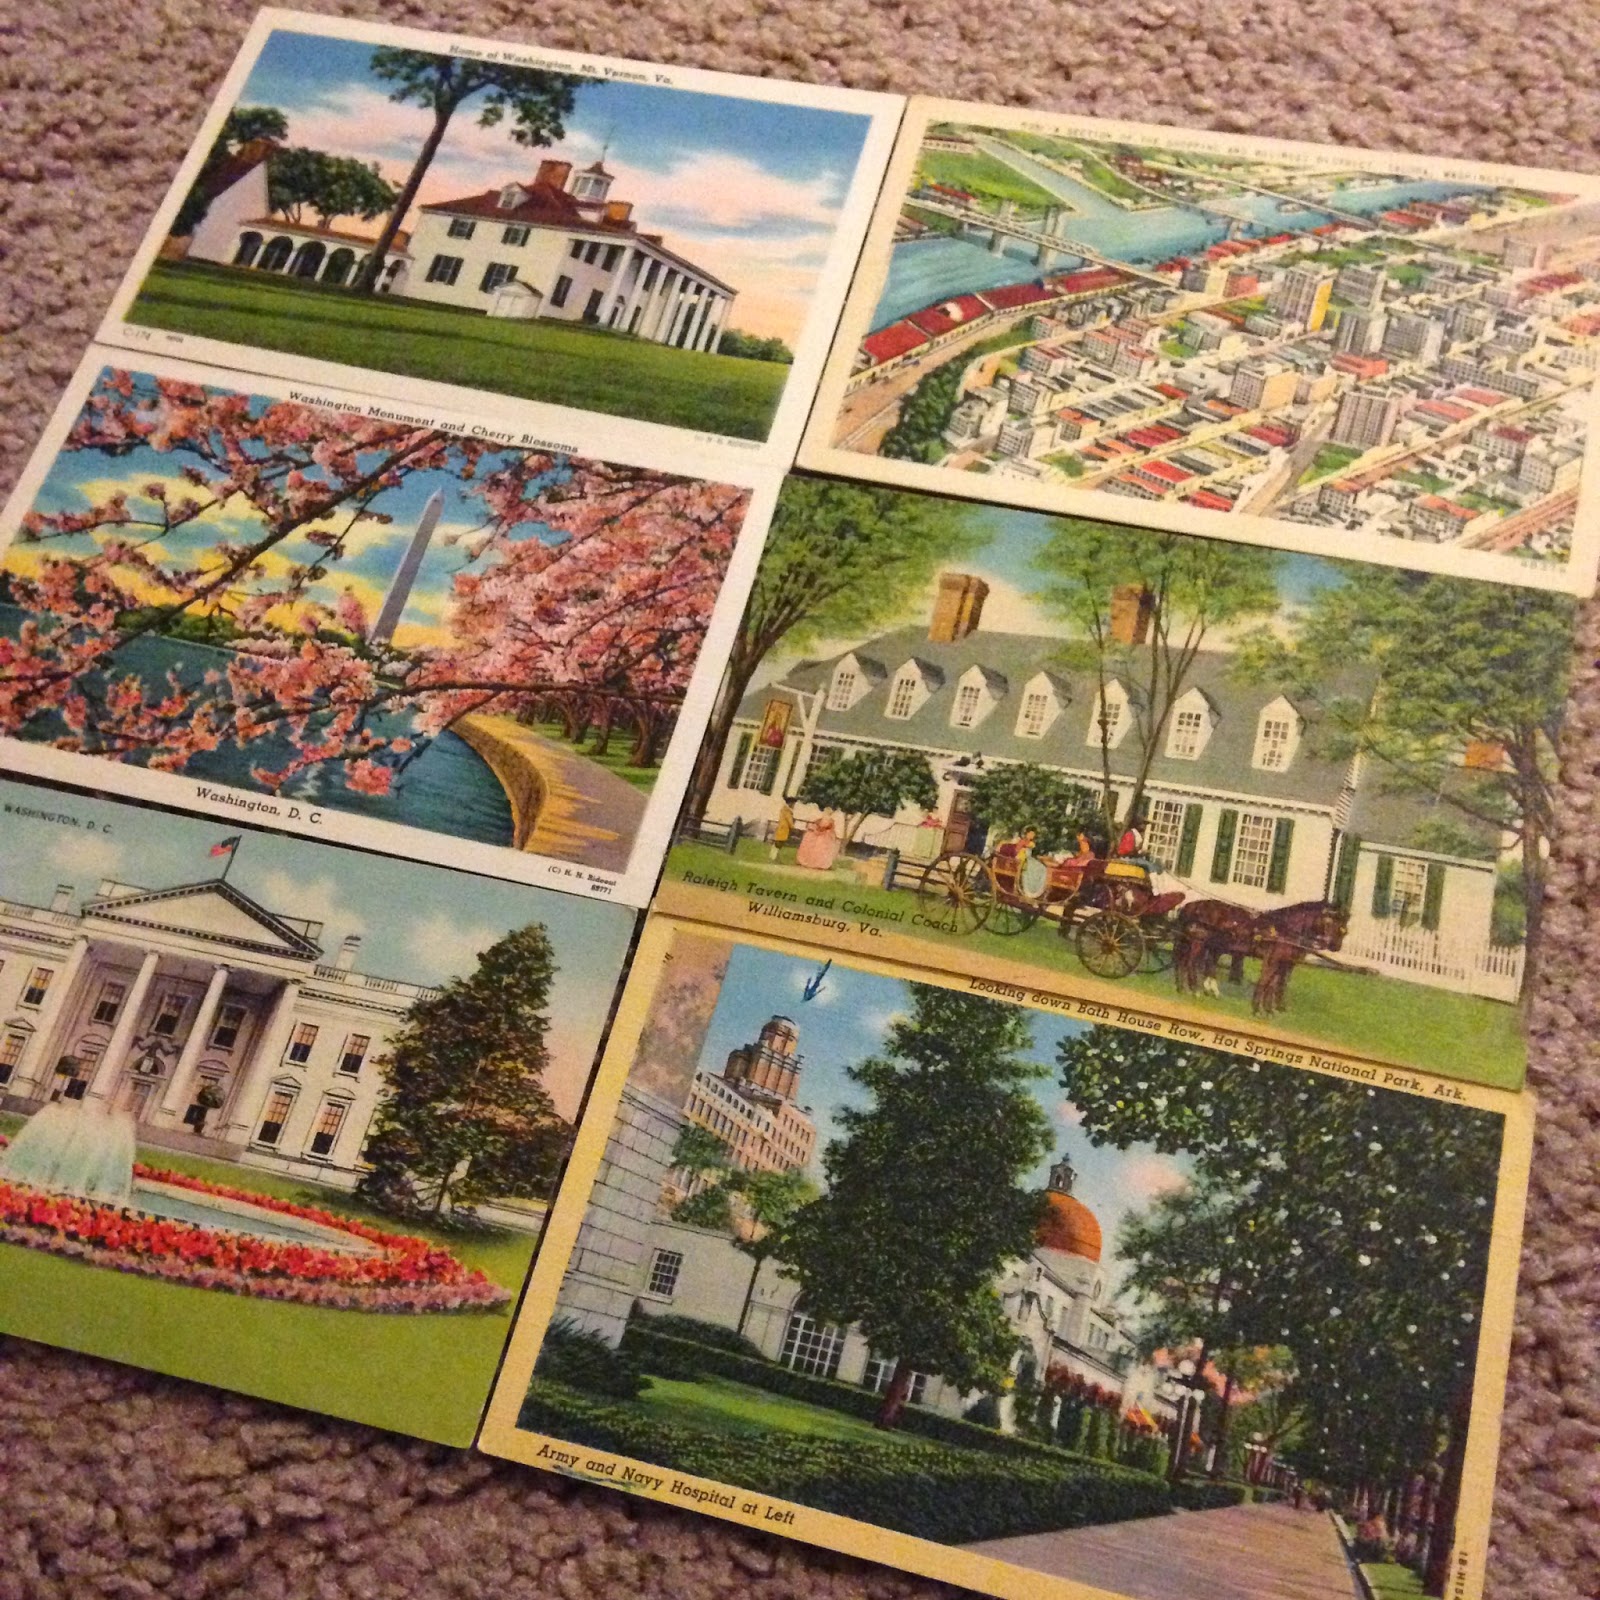
I also got these vintage postcards while we were antiquing in Tennessee. What is so neat about them is they are all places that I have traveled to. I love how vibrant the colors are!


I have little things in these drawers like label holders, paper clips, a mini stapler, tape, etc. I didn't really know what to put on the labels, so I decided to put 4 of my favorite bible verses just for fun!

For the shelf above the closet I got these photoboxes for $1 each a few years ago at Michaels. I have always used them in here, but I revamped the labels and I love the way they turned out!


Here is one last look at the finished product! I hope that you like the change!

Tuesday, March 18, 2014

Turkey Teriyaki Lettuce Wraps


Hi guys!

I have a real quick and easy healthy dinner to share today! 
We have tried this in the past with tortillas, but we are trying to make some changes in our eating habits,  so Justin had the clever idea last time we ate them that they would be good as lettuce wraps! He was right! These are perfect for a busy weekday, and don't require a lot of ingredients at all, so I hope that your family tries them!!!


Teriyaki Turkey Lettuce Wraps

Ingredients
  • Minced garlic (however much you prefer)
  • 1 lb ground turkey (we love Jennie-O)
  • 1 cup fresh or canned pineapple cut into small pieces
  • 1/2 cup teriyaki glaze or marinade
  • Romaine lettuce leaves
Directions
  1. In a medium sized skillet over medium high heat cook your garlic until golden brown. Add your ground turkey and cook until its no longer pink.
  2. Once your meat is done cooking add teriyaki sauce and pineapple to the skillet. Let your mixture heat through; about 3-5 minutes. 
  3. Add your mixture to romaine lettuce leaves and enjoy!
*This made 8 lettuce wraps for us which meant we had leftovers for lunch! yay!


Friday, March 14, 2014

DIY Succulents + Gold Polka Dots = Fabulous!!!

Hey guys!

I have a quick DIY project to share today! This took me 30 minutes to do, and is very in-expensive as well! It was so much fun, and since I can kill absolutely any plant I thought a succulent might be the way to go! These succulents only have to be watered once every two weeks; that is my kind of plant commitment!

So, take a look at my mini potted succulents…...


For this project there are a few supplies you will need:
  • Small succulents ( I got mine at Home Depot)
  • Small pots 
  • Elmers glue
  • round circle spongue
  • fine gold glitter

The first step is to put some glue on a paper plate, grab your sponge and make some glue dots….


As you can see, the dots don't have to by perfectly symmetrical. The glitter will hide any imperfections of a lop-sided circle.


Next, shake your glitter on top of the glued dots around your plate. Make sure to do this over a clean paper plate to catch any of the excess glitter that can be re-used.


And that is it!!! See! I told you it was incredibly easy! This is a great DIY quick project that doesn't take long. You could give them to someone as a gift, or keep them for yourself :) 
You can be super creative and change up the colors, too. 


Thursday, March 13, 2014

Easy Greek Salad


Hello out there! 

So, at our house we love Greek and Mediterranean food! One of our favorite restaurants on our honeymoon we went to was a little Greek place that had amazing lunch! ahhhhh...lets go back!!!!! :)

So, today I just wanted to share a quick Greek salad and home made dressing recipe! It makes a great side, or a full entrée if you wanted to add some chicken or chickpeas!


Salad Ingredients
  • Romaine lettuce
  • chopped tomato
  • fat Free Feta Cheese
  • pitted kalamata olives

And here is a recipe for the home-made dressing that goes great with the salad....


Greek Dressing Ingredients

    • ¼ cup olive oil
    • 2¼ tsp. red wine vinegar
    • 2½ tsp. parmesan cheese, grated
    • 1½ tsp. lemon juice
    • 1½ tsp. garlic, finely diced or put through a press
    • 1½ tsp. dried oregano
    • ¼ tsp. dried basil
    • ¼ tsp. salt, or more for tast
    • ¼ tsp. pepper, or more for taste


    All you have to do is mix your dressing ingredients together and top off your salad! The recipe for the dressing is enough for about 4 side size salads; probably 2 entrée sized salads.


    We paired this salad with my Greek Baked Chicken and wild rice. It was extremely yummy! I highly recommend that you make this meal soon!! One of our favorites!
    Thanks for stopping by!

    Wednesday, March 12, 2014

    Swiss Chicken Noodles


    Hello everyone!!!

    Today's recipe is one that we tried for dinner last night adapted from The Frugal Girls!
    It would be great for having company over, or for a big family. Since there is only two of us we had plenty of left overs for lunches! It is yummy, and extremely easy to make! Hope you enjoy!


    Swiss Chicken Noodles
    Ingredients
    • 1 Rotisserie Chicken
    • 1 pkg Swiss Cheese (I used a block of swiss cheese instead of pre-sliced because it saved me $1, but either is fine)
    • 1 16 oz. box Ziti Noodles (or Whole Wheat Penne)
    • 2 cups lite sour cream
    • 1 box Whole Wheat Stuffing
    • 2 cans Cream of Chicken soup

    Directions
    1. Boil your noodles according to package directions. While they are boiling, go ahead and shred the meat in your rotisserie chicken.
    2. After noodles are cooked mix with both cans of cream of chicken soup and chicken in a large mixing bowl.
    3. In a medium mixing bowl mix your uncooked stuffing and sour cream. 
    4. Spray a 9x13 casserole dish with non-stick spray. Spread the chicken/noodle/soup mixture evenly on the bottom of your dish, followed by your stuffing/sour cream mixture, then topped with your sliced swiss cheese.
    5. Bake at 350 for 25 minutes uncovered. 
    This makes 8 servings; I served a salad and dinner rolls with it and it was very yummy! Hope you enjoy!
     

    Follow Me!